
Code First Approach
In this tutorial we discuss what code first approach in entity framework core and generate database from out domain entity.
Entity Framework introduced the Code-First approach with Entity Framework 4.1. Code-First is mainly useful in Domain Driven Design. In the Code-First approach, we will focus on the domain of your application and start creating classes for your domain entity rather than design your database first and then create the classes which match your database design.
We will create Entities, which are regular C# classes with DB attributes. Entities are not “DTO” objects because it’s designed for Database interactions. We will be using the code-first approach, so these Entity classes are inputs for DB creation.
Step 1: Let create folder with name entity in our project into root directory and create below two below class entities inside that.
Student Class Entity – Student.cs
 public class Student
 {

        [Key]
        [DatabaseGenerated(DatabaseGeneratedOption.Identity)]

        public int ID { get; set; }
        public string Name { get; set; }
        public string Class { get; set; }
        public int Age { get; set; }
        public string School { get; set; }

        public ICollection StudentAddress { get; set; }
                   = new List();

    }
Student Address Class Entity – StudentAddress.cs
public class StudentAddress
{

        [Key]
        [DatabaseGenerated(DatabaseGeneratedOption.Identity)]
        public int ID { get; set; }
        public string Address { get; set; }
        public string City { get; set; }
        public string   PinCode { get; set; }
        [ForeignKey("StudentID")]
        public Student Student { get; set; }
        public int StudentID { get; set; }

}
Step 2: We need to add install a few NuGet packages to work with EntityFrameworkCore and SQL server and install the below packages.
- Microsoft.EntityFrameworkCore
- Microsoft.EntityFrameworkCore.Tools
- Microsoft.EntityFrameworkCore.SqlServer
Step 3: We need to add the “DbContext” file to our application.
Create a “Contexts” folder and add class file “SchoolContext” that derives from the “DbContext” base class. This base class is as part of “Microsoft.EntityFrameworkCore”. Add below “DBSet” to our “SchoolContext” class.
public DbSet Student { get; set; }
public DbSet StudentAddress { get; set; }
We will override OnConfiguring method and add connectionstring for DBContext.
protected override void OnConfiguring(DbContextOptionsBuilder optionsBuilder)
{
    optionsBuilder.UseSqlServer(@"Data Source=LAPTOP-Q563PLL3\SQLEXPRESS;Initial Catalog=StudentMaster;Integrated Security=true;");
}
After making all changes our SchoolContext loook like.
public class SchoolContext: DbContext
{
        protected override void OnConfiguring(DbContextOptionsBuilder optionsBuilder)
        {
            optionsBuilder.UseSqlServer(@"Data Source=LAPTOP-Q563PLL3\SQLEXPRESS;Initial Catalog=StudentMaster;Integrated Security=true;");
        }
        public DbSet Student  { get; set; }
        public DbSet StudentAddress { get; set; }
}Add-Migration "CreateDatabase"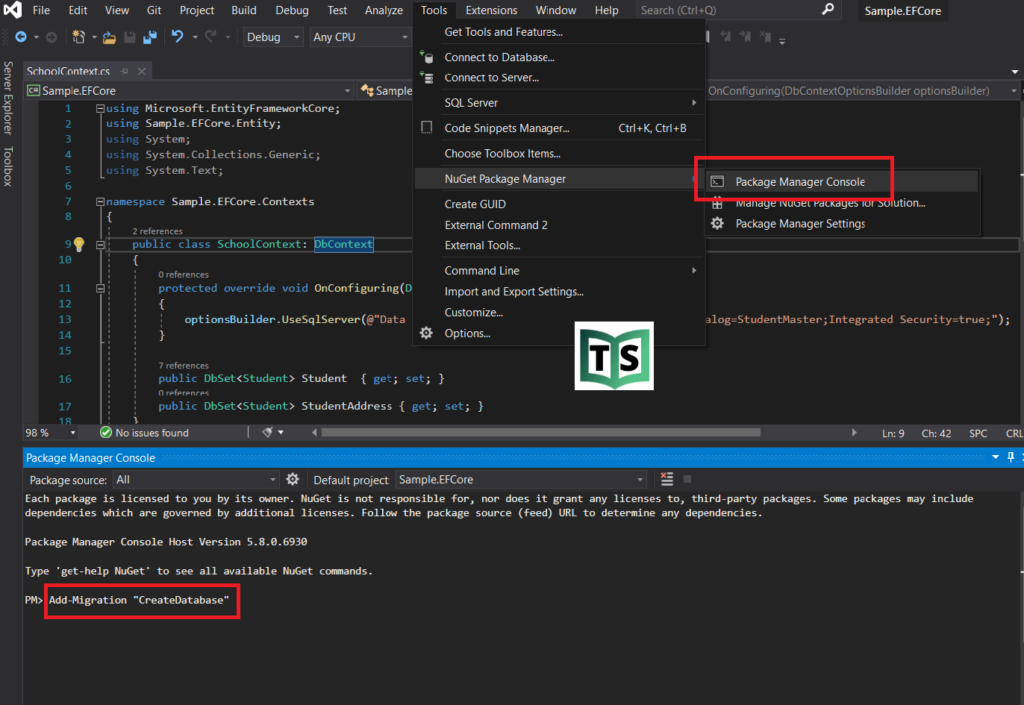
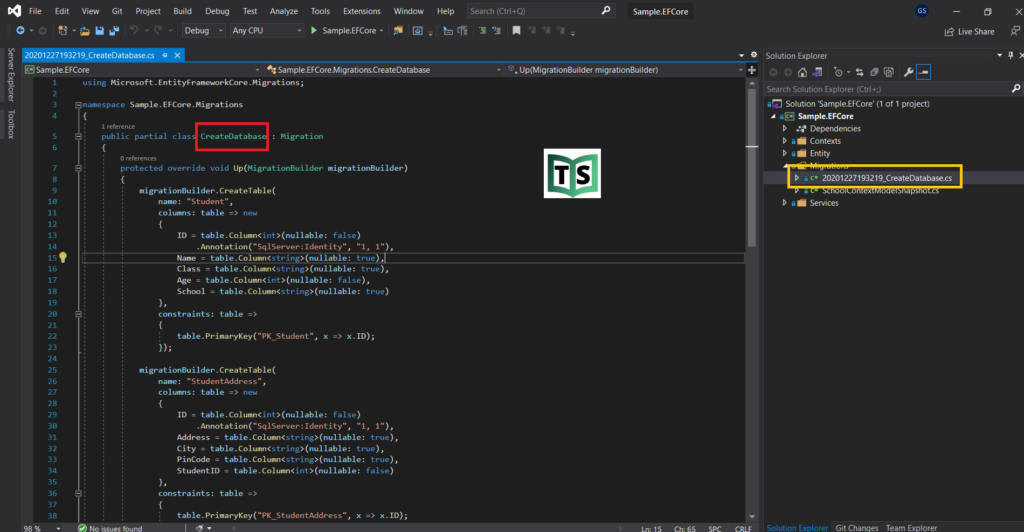
This will create a Migrations folder and “CreateDatabase.cs” auto-generated file. This class file has “Up” and “Down” methods to create or delete schema objects.
Update-DatabaseYou can watch our video version of this tutorial with step by step explanation.