
Installing Bootstrap
In video will discuss and see example of how to install the bootstrap in asp.net core mvc.
There are different tools available that you can use to install client-side packages such as JQuery and Bootstrap using Visual Studio. Some of the popular tools are as follows.
- Bower
- NPM
- WebPack
- Library Manager, etc.
In this tutorial we are going to use Library Manager which is known as Libman to install the client-side packages.
The Library Manager or LinMan is one of the most popular light-weight, client-side library acquisition tool. This tool is basically used to download the client-side libraries and frameworks such as Bootstrap and JQuery from a file system or from a CDN (Content Delivery Network). In order to use Library Manager, you should have Visual Studio 2017 version 15.8 or later version.
Follow below steps to install bootstrap.
- Right-click on the “Project Name” in the Solution Explorer and then select “Add > Client-Side Library” which will open “Add Client-Side Library” window.
- Leave the default provider as it is which “cdnjs” is in this case. The other providers are filesystem and unpkg.
- In the “Library” text box, just type “twitter-bootstrap“. You can also get intelligence support once you start typing. Once you select the matching entry, then it tries to install the latest version of bootstrap. However, if you want then you can also type the version manually you want. Here, we are installing the latest version of Bootstrap i.e. (“twitter-bootstrap@4.3.1”).
- There are two radio buttons to select whether you to include “All library files” or “Choose Specific files“. If you select “All library files” radio button then all the files are going to be downloaded. On the other hand, if you select “Choose Specific files” radio button then you need to check the selected checkboxes as per your requirement. Here I am selecting the “All library files” radio button.
- In the “Target Location” text box specify the folder location where you want the library files to be installed. By default, the static files are only served from the wwwroot folder. Here, I am going with the default location i.e. “wwwroot/lib/twitter-bootstrap/”.
- Finally, click on the “Install” button as shown in the image below.
Once it successfully installed, then you will find two things. One is libman.json file and the second one the required bootstrap files. Please have a look at the following image.

How to clean Client-Side Libraries using Libman in ASP.NET Core?
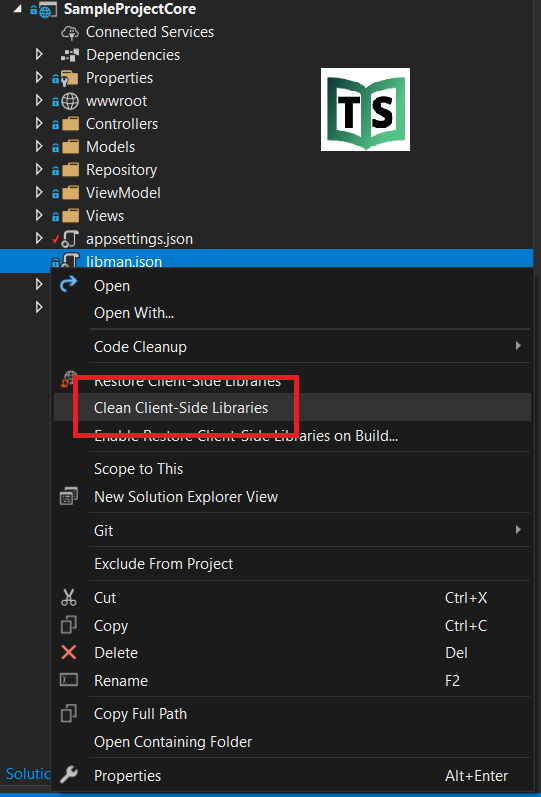
If you want to clean the library files which are created by using the Library Manager, then you just need to right-click on the libman.json file and then select the “Clean Client-Side Libraries” option from the context menu. Once you click on the “Clean Client-Side Libraries” option then it will delete all the library files from the respective destination folder. The point that you need to keep in mind is, it will only delete the files from the folder but not in the libman.json file.
How to Restore Client-Side Libraries using Libman in ASP.NET Core?
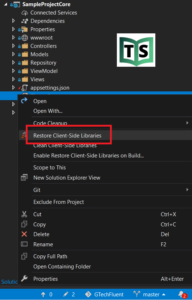
If you want to restore the deleted files, then you just need to right-click on libman.json file and then select the “Restore Client-Side Libraries” option from the context menu. This will again download and installed the required library files into the specified destination folder.
How to uninstall or update a Client-Side Library using libman.json file?
If you want to uninstall or update a client-side library using libman.json file, then you need to follow the below steps.
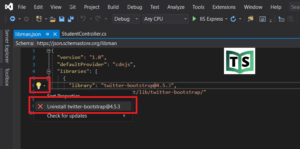
- Open the libman.json file
- Click on the client-side library which you want to uninstall or update
- A light bulb icon will appear at the left side
- Click on the light bulb icon and then you will see the options whether to update or uninstall that specific client-side library as shown in the below image.
You can watch our video version of this tutorial with step by step explanation.