
ASP.NET CORE Setup MVC
In this tutorials we will discuss, setting up MVC in ASP.NET Core application. Will see demonstration from creating empty project and setup MVC into the request pipeline.
Setup mvc in asp.net core 3.1 with empty project.
- Open visual studio 2019 and select Create new project.
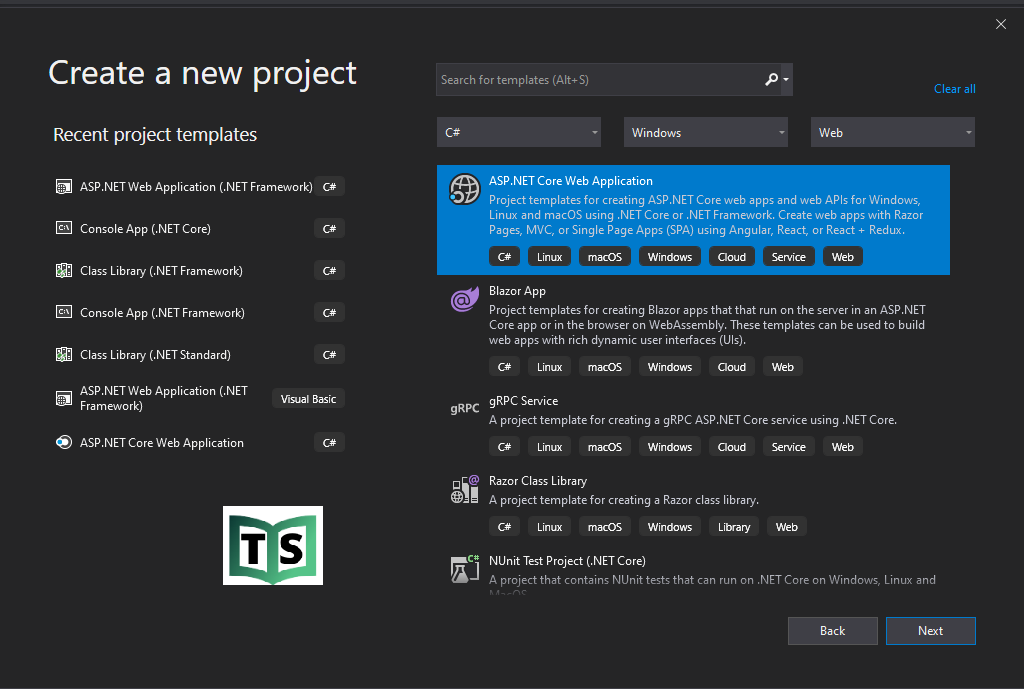
2. On the Create new project window select asp.net core web application and click on the next button.
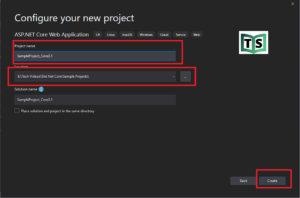
3.On next click you will get the configure project screen to provide project name and path.
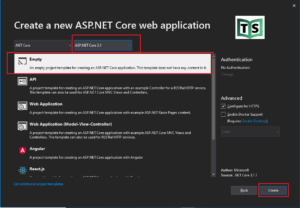
4. On the next screen choose the version of project and from below option choose empty and click.
5. Lets add dependency in to ConfigureService method in Startup.cs class file to enable mvc as services.AddMVC()
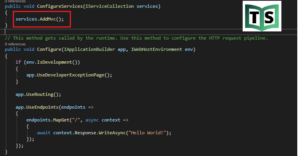
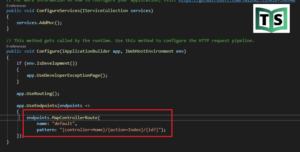
6. Let’s modify the Configure method and make changes in app.UseEndpoints as below.
app.UseEndpoints(endpoints =>
 {
         endpoints.MapControllerRoute(
                    name: "default",
                    pattern: "{controller=Home}/{action=Index}/{id?}");
 });
7. Now under the project, create a folder with the name Controllers. After creating the “Controllers” folder, right-click on the “Controllers” folder and Add a HomeController.
8. Right-click on the Index of ActionResult choose “Add View” and click on it. Now you will get
9. Now let run our application and index view should be loaded
You can watch our video version of this tutorial with step by step explanation.