
ASP.NET CORE Mvc – Layouts
In this tutorial we going to discuss the Layout View in ASP.NET Core MVC Application and the Components of layouts.
The layouts used to provide common UI functionality to all pages. This is like the master pages in webforms applications. The common UI code, which can be used in many views can go into a common view called layout.
Now let’s take an example: you have around 20 view created in your application and all views are required information like.
- Header/Menu Header
- Footer
- Main Contents.
There might be other content like the left side menu and that is totally as per the requirement of your application or project.
If you think you don’t have a layout view for your website, then you need to repeat the required HTML content for the above-mentioned sections in each and every view of your application. This is violating the DRY (Don’t Repeat Yourself) principle as we are repeating the same code in multiple views and it is very difficult to maintain the application.
For example, if you have to do some changes in the header then you need to modify that into each view into your application and to do this in each and every view which is tedious, time-consuming as well as it might be missed from our side as we are doing manually.
Achieve above scenario it’s better and recommended that add you HTML content into the view which is required for your child view or inherited views. If you made any changes the layout view, the changes will be reflected immediately across all the views which are inherited from the layout view.
Lets add view into our application by following below steps.
- Right-click on the “Views” folder and then add a new folder with the name “Shared“.
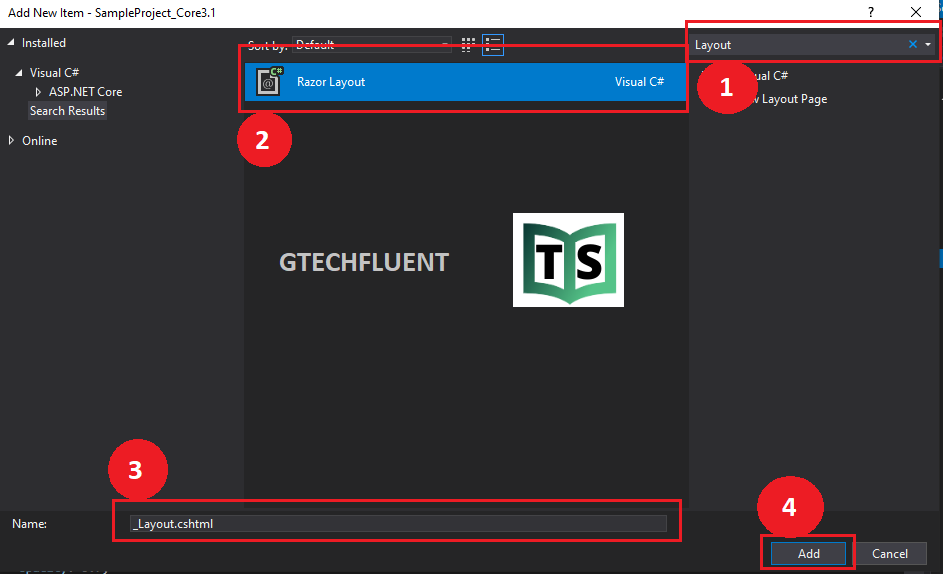
- Right-click on the “Shared” folder and then select the “Add” – “New Item” option from the context menu which will open the Add New Item window.
- From the “Add New Item” window search for Layout and then select “Razor Layout”, give a meaning full name (_Layout.cshtml) to your layout view and finally click on the “Add” button as shown below which should add _Layout.cshtml file within the Shared folder.
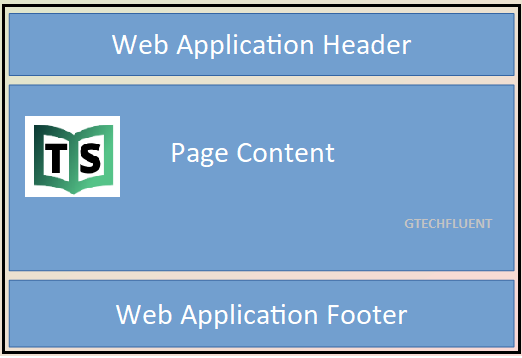
Web Application Header
|
| @RenderBody() |
Web Application Footer
|
@model SampleProjectCore.StudentViewModel
@{
    ViewBag.Title = "Student Information";
    Layout = "~/Views/Shared/_Layout.cshtml";
}
The @ViewBag.Title use to display view or page specific page title. For example, when “Details.cshtml” view is rendered using this layout view, then the Details.cshtml view will set the Title property on the ViewBag in our cas title is “Student Information”. This is then retrieved by the Layout view using the expression @ViewBag.Title and set as the value for the